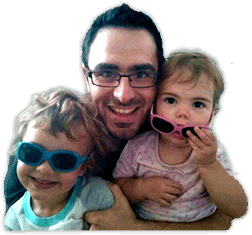
A few years ago, I had to get a photo of Joen for a passport application. At the time, he was 6 months old, and had approximately the same facial proportions as a happy potato.
However, it is part of the requirements, so I took him down to the photo booth, and paid £5 for 4 correctly sized photos. I don’t know if you’ve ever tried to get a baby to pose for a picture, but its not easy.
Expecting a 6 month old to sit upright, unsupported, and look directly at a lens in a photobooth is pretty optimistic, and the photos reflected his inability to perform: they were classed as “not useable” by the passport office.
I decided the best solution was to take, edit and print some photos myself, especially now Neriah needs one too. The Passport Office provide some details of what they want from your photos if you want the exact specs. Below is a brief tutorial of how I managed it:
How to take, edit and print a passport photo
- Get a child. Try eBay if you don’t have one already, or use an adult…
- Take a photo of them against a light grey or cream background. Try to clean most of the snot and pasta off them before you do this. Ideally they shouldn’t be smiling, neutral expression, no sunglasses, no red eye, facepaint, etc. There is a full list on the gov.uk site if you like that sort of thing…
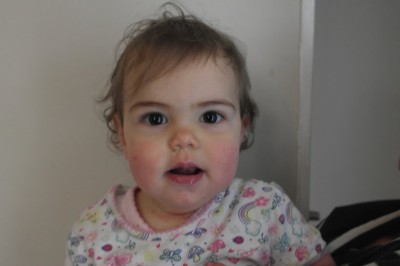
- Chuck the photo into Fireworks (or Photoshop, Corel, etc) and cut out all the rough bits, and put a uniform background in.
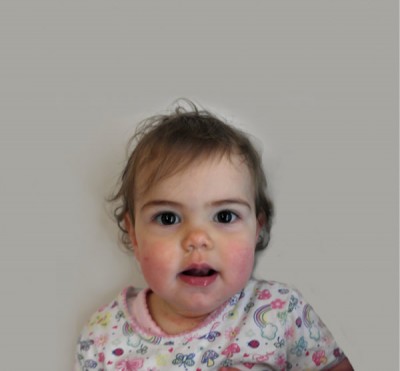
- Make a new file that measures 35mm by 45mm, with 300dpi. Or just right click and save the image below (it will be an editable PNG for those of you using Fireworks).
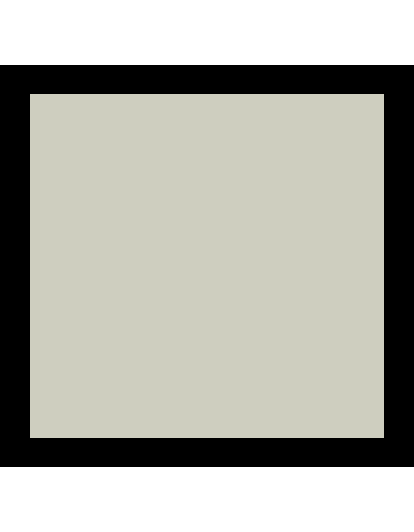
- Chuck your lovely perfect image of your beautiful baby onto the template. Change the opacity of the photo down to 50%, so you can see the template through the photo. Resize the photo down so their head is slightly bigger than the box (see below).
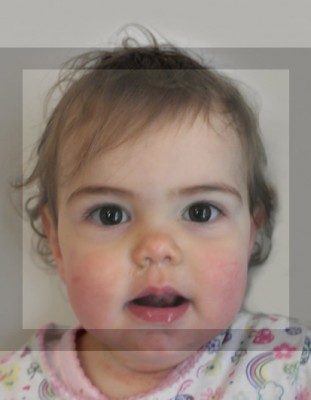
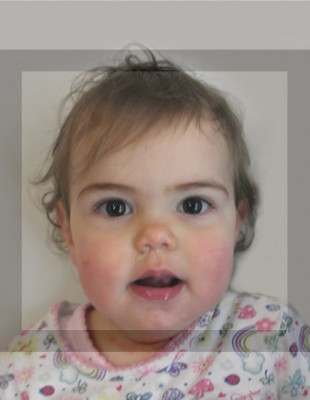
- Now shrink them down so that the chin ends in the middle of the black line, and the crown of the head does also. (Just so you know, this ensures the head is vertically central, and no more than 34mm high, no less than 29mm, as per the offical guidance…)
- Create a new file that measures exactly 6 inches by 4 inches, at 300dpi resolution, and put 8 copies of your beautiful darling onto it in some nice straight lines. (You can also upload your image to OddPrints.com, and they will lay up 8 images for you and give you the final image to download for free.)
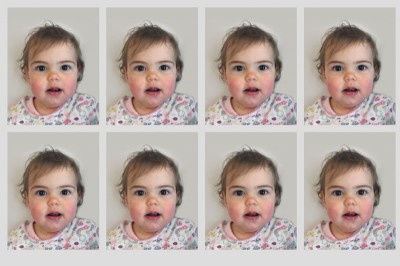
- Pop to your local chemist or supermarket, and print a copy of the photo in 6×4 size, and woila! Perfect passport photos, without spending £5 a pop! Feel free to donate the £5 I just saved you to Names Not Numbers Charity…
